
Christmas Cherry Bars Recipe
Introduction
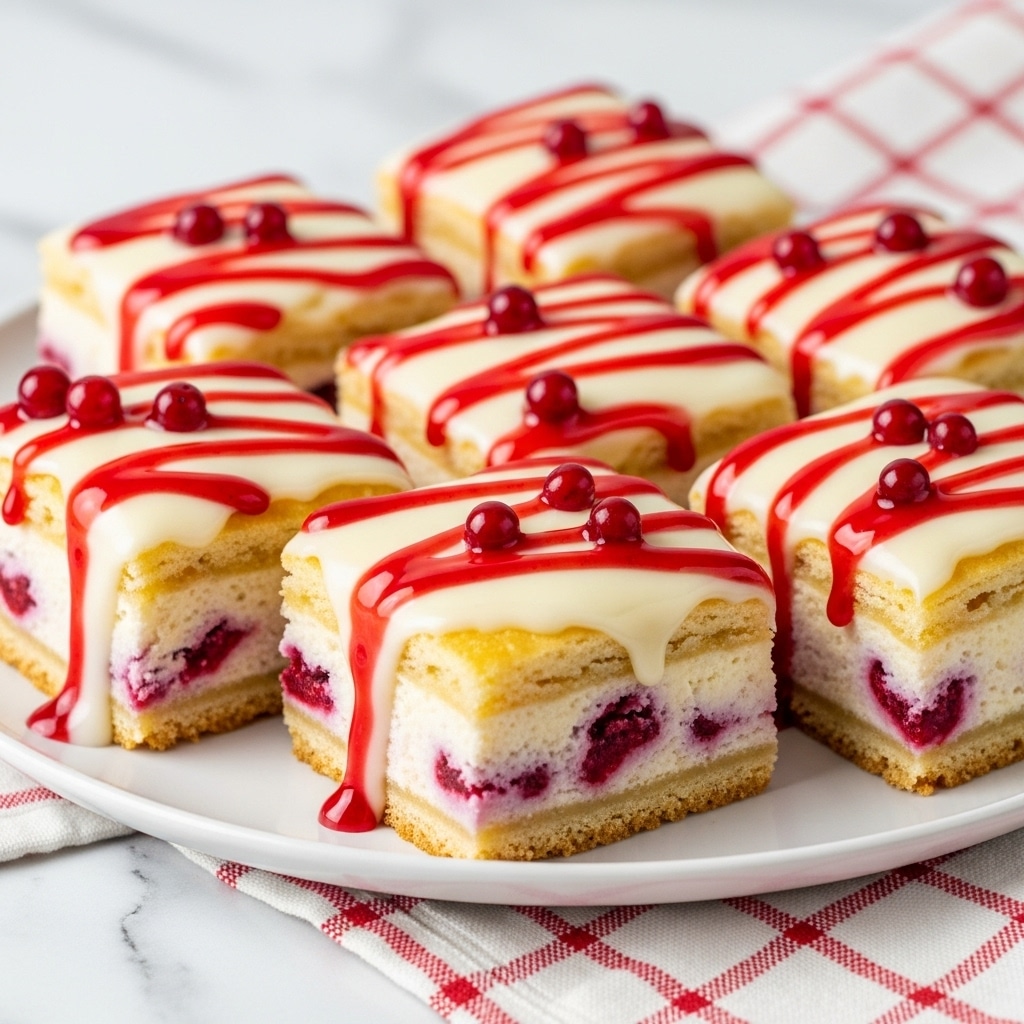
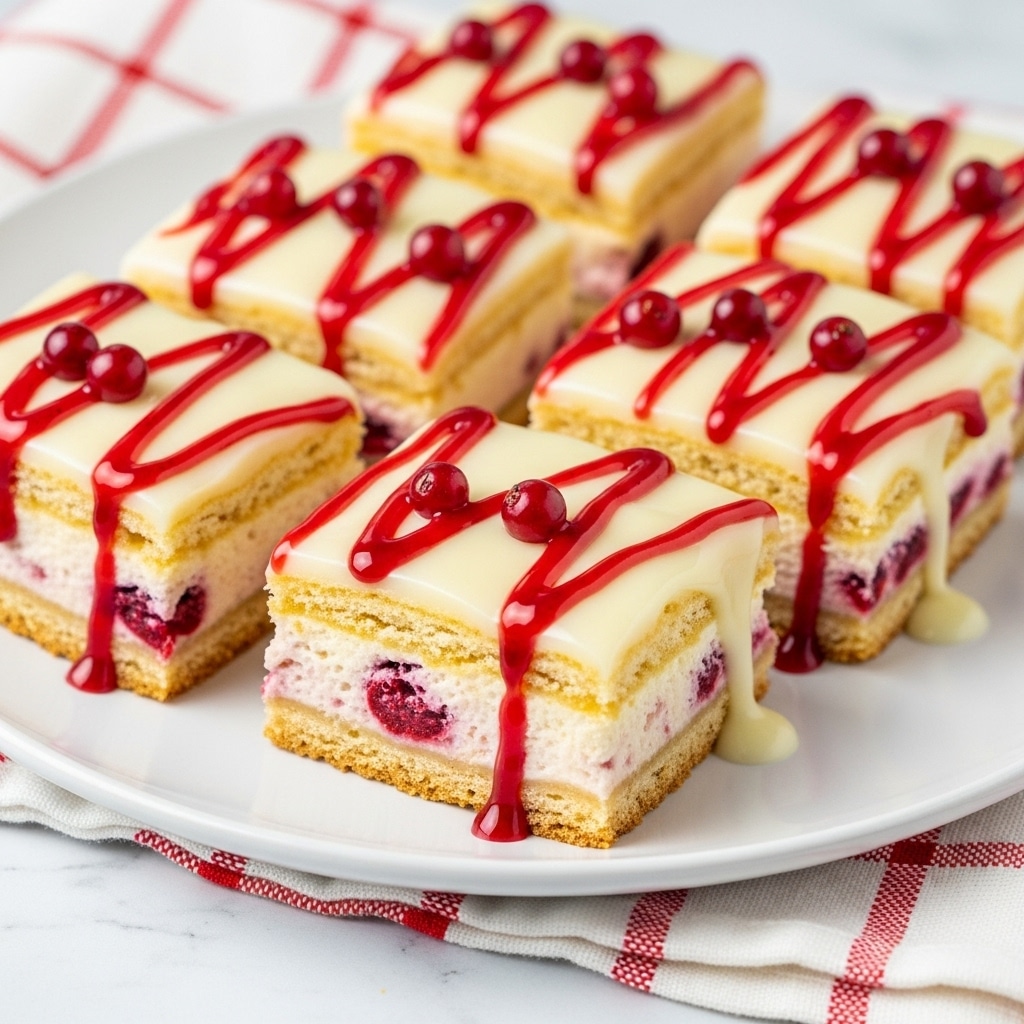
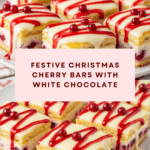
Christmas Cherry Bars are a festive treat combining tart dried cherries with sweet white chocolate, all wrapped in a buttery crumbly crust. These bars are perfect for holiday gatherings or a cozy winter dessert. Easy to make and irresistibly delicious, they bring holiday cheer in every bite.
Ingredients
- 1 ½ cups all-purpose flour
- ½ cup granulated sugar
- ½ cup unsalted butter, chilled and cubed
- ½ teaspoon baking powder
- Pinch of salt
- 1 large egg yolk
- ½ teaspoon vanilla extract
- ¼ teaspoon almond extract
- 1 cup dried tart cherries, roughly chopped
- ½ cup white chocolate chips
Instructions
- Step 1: Preheat your oven to 350°F (175°C). Lightly grease an 8×8-inch baking pan or line it with parchment paper, leaving an overhang for easy removal.
- Step 2: In a medium bowl, whisk together the flour, sugar, baking powder, and salt until evenly combined.
- Step 3: Add the chilled butter pieces and use a pastry cutter or your fingertips to work the butter into the dry ingredients until the mixture resembles coarse crumbs.
- Step 4: Stir in the egg yolk, vanilla extract, and almond extract. Mix until a soft dough forms; it may be slightly crumbly but should hold together when pressed.
- Step 5: Reserve about one-third of the dough for the crumble topping. Press the remaining dough evenly into the prepared pan to form the base.
- Step 6: Bake the crust for 10 to 12 minutes, until the edges are set but the center is still pale. Remove from the oven and let it cool slightly.
- Step 7: Meanwhile, toss the dried cherries and white chocolate chips in a small bowl to distribute them evenly. Sprinkle the fruit-and-chocolate mixture over the warm crust.
- Step 8: Crumble the reserved dough over the cherries and chocolate layer, breaking it into small pieces so that the filling peeks through.
- Step 9: Return the pan to the oven and bake for an additional 20 to 25 minutes, until the top is golden and the filling is bubbling slightly.
- Step 10: Allow the bars to cool completely in the pan on a wire rack. Use the parchment overhang to lift them out, then cut into squares or rectangles.
Tips & Variations
- For a nutty crunch, add ½ cup chopped walnuts or pecans to the cherry and chocolate layer.
- Substitute dried cranberries for cherries if you prefer a sweeter berry flavor.
- Use dark chocolate chips instead of white chocolate for a richer contrast to the tart cherries.
- Chill the dough for 30 minutes before pressing it into the pan to make handling easier.
Storage
Store the Christmas Cherry Bars in an airtight container at room temperature for up to 3 days. For longer storage, refrigerate for up to one week or freeze for up to 2 months. When reheating, warm slightly in the microwave or oven to soften the bars without melting the chocolate too much.
How to Serve
Serve this delicious recipe with your favorite sides.
FAQs
Can I use fresh cherries instead of dried?
Fresh cherries contain more moisture, which can affect the texture and baking time. If using fresh cherries, pit and chop them, then reduce any additional liquid in the recipe and expect a slightly softer bar.
How do I prevent the crumble topping from burning?
Keep an eye on the bars during the last 10 minutes of baking. If the topping browns too quickly, loosely cover the pan with foil to protect it while the filling finishes bubbling.
Print
Christmas Cherry Bars Recipe
- Total Time: 50 minutes
- Yield: 16 bars 1x
Description
Enjoy these festive Christmas Cherry Bars featuring a buttery crumbly crust, tart dried cherries, and sweet white chocolate chips. Perfectly baked for a delicious holiday treat that combines fruity and creamy flavors in every bite.
Ingredients
Base and Crumble Dough
- 1 ½ cups all-purpose flour
- ½ cup granulated sugar
- ½ cup unsalted butter, chilled and cubed
- ½ teaspoon baking powder
- Pinch of salt
- 1 large egg yolk
- ½ teaspoon vanilla extract
- ¼ teaspoon almond extract
Filling
- 1 cup dried tart cherries, roughly chopped
- ½ cup white chocolate chips
Instructions
- Preheat Oven: Preheat your oven to 350°F (175°C). Lightly grease an 8×8-inch baking pan or line it with parchment paper, leaving an overhang to make removing the bars easier.
- Mix Dry Ingredients: In a medium bowl, whisk together the all-purpose flour, granulated sugar, baking powder, and salt until evenly combined for a uniform crumb texture.
- Incorporate Butter: Add the chilled, cubed unsalted butter. Use a pastry cutter or your fingertips to work the butter into the dry ingredients until the mixture resembles coarse crumbs, ensuring the fat is well distributed.
- Form Dough: Stir in the large egg yolk, vanilla extract, and almond extract. Mix until a soft dough forms; it may be slightly crumbly but should hold together when pressed, indicating the right consistency.
- Prepare Crust and Topping: Reserve about one-third of the dough for the crumble topping. Press the remaining dough evenly into the prepared baking pan to form a solid base layer.
- Bake Crust: Bake the crust for 10 to 12 minutes, until the edges are set but the center remains pale. Remove the pan from the oven and let the crust cool slightly, preparing it for topping.
- Add Filling: In a small bowl, toss the dried tart cherries and white chocolate chips to mix evenly. Sprinkle this mixture over the warm crust to layer the filling evenly.
- Apply Crumble Topping: Break the reserved dough into small pieces and crumble it over the cherry and chocolate layer, allowing bits of filling to peek through for texture and visual appeal.
- Final Bake: Return the pan to the oven and bake for an additional 20 to 25 minutes, or until the topping is golden brown and the filling is bubbling slightly, indicating it’s cooked through.
- Cool and Serve: Allow the bars to cool completely in the pan on a wire rack. Use the parchment paper overhang to lift the bars out easily, then cut into squares or rectangles for serving.
Notes
- Ensure the butter is chilled to achieve a crumbly texture in the dough.
- Using parchment paper with an overhang makes it easier to remove the bars from the pan without breaking.
- Let the bars cool completely before cutting to maintain clean edges and prevent crumbling.
- You can substitute dried cranberries for dried tart cherries if desired.
- Store leftovers in an airtight container at room temperature for up to 4 days.
- Prep Time: 15 minutes
- Cook Time: 35 minutes
- Category: Dessert
- Method: Baking
- Cuisine: American
Keywords: Christmas cherry bars, dried cherry dessert, white chocolate bars, holiday baking, crumbly cherry bars

