
Butterfinger Balls Recipe
Introduction
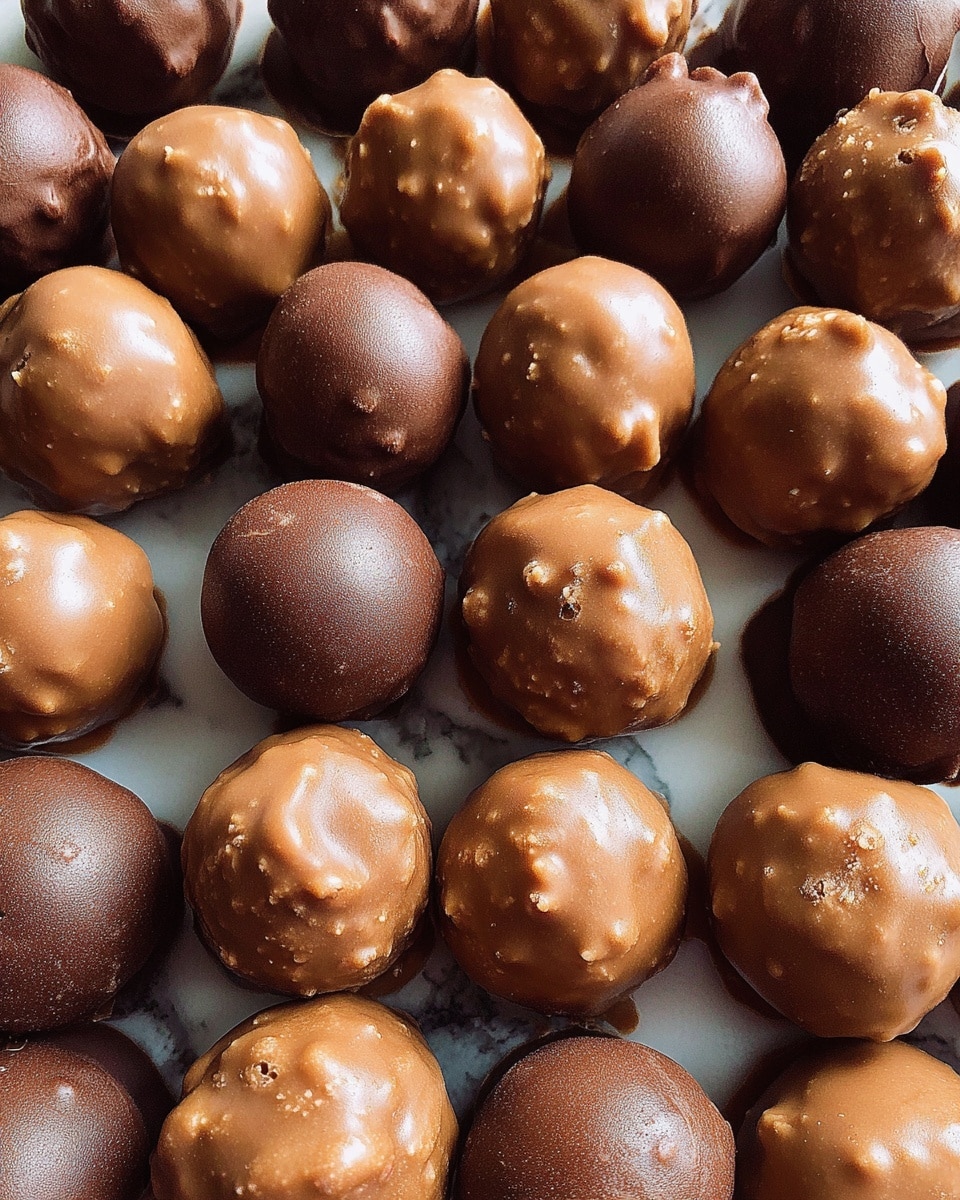
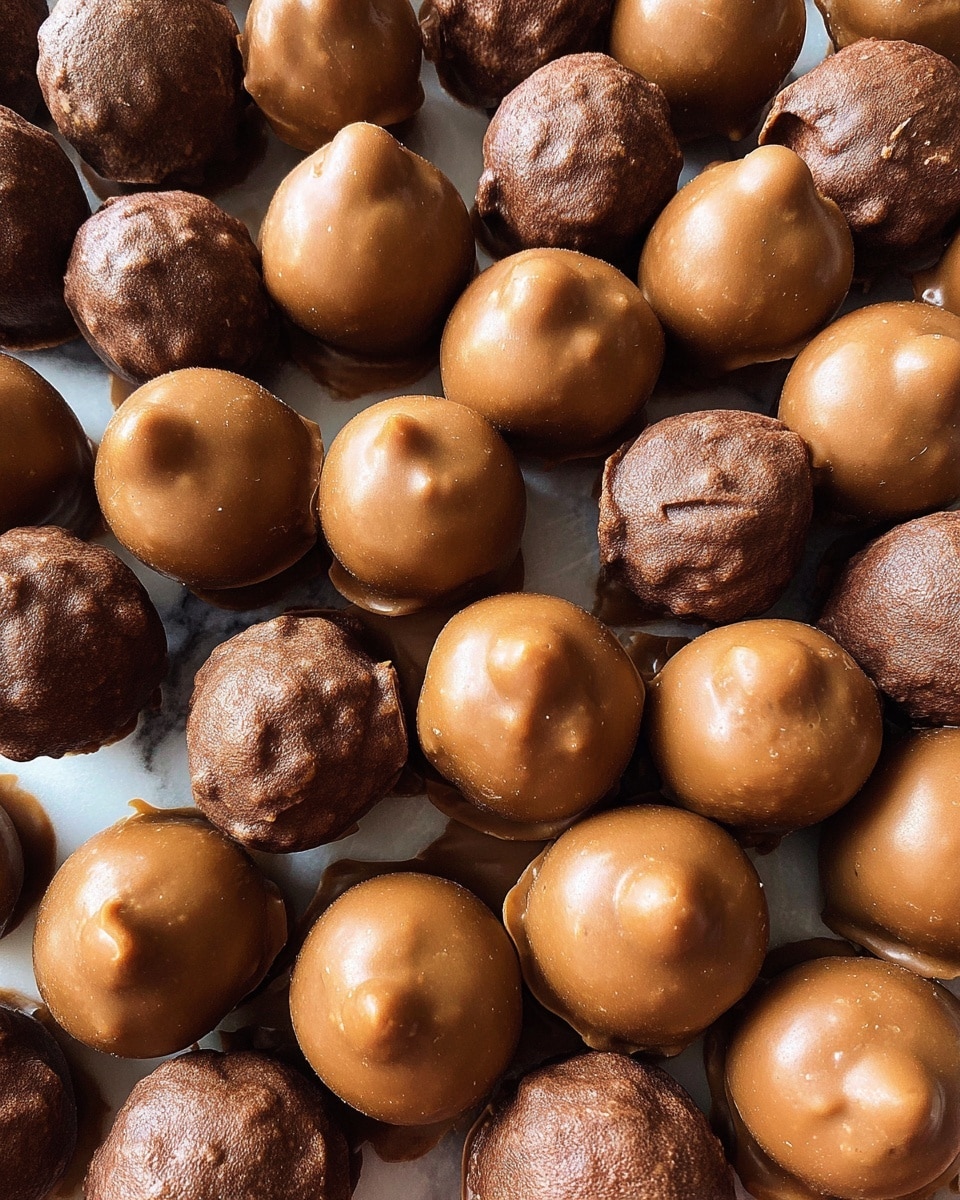
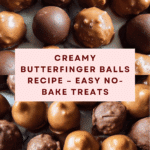
Butterfinger Balls are a delightful no-bake treat combining creamy peanut butter, crunchy Butterfinger bits, and a rich chocolate coating. These bite-sized sweets are perfect for parties, gift-giving, or whenever a little indulgence is needed.
Ingredients
- 1⅓ cup creamy peanut butter
- ½ cup salted butter, softened
- 1 teaspoon vanilla extract
- 2 cups powdered sugar
- 1½ cups Butterfinger Bits, plus more for topping (optional)
- 3 cups chocolate melting wafers
Instructions
- Step 1: In a large bowl or stand mixer, cream together the peanut butter, softened butter, and vanilla extract for about 30 seconds until smooth and combined.
- Step 2: Sift the powdered sugar into the bowl and beat the mixture until smooth and well incorporated.
- Step 3: Fold in the Butterfinger Bits evenly throughout the peanut butter mixture.
- Step 4: Chill the mixture in the refrigerator for 30 minutes to firm up.
- Step 5: Line a cookie sheet with parchment paper. Use a medium cookie scoop to portion out the mixture and roll each portion into balls. Place the balls on the prepared cookie sheet.
- Step 6: Freeze the balls for 20 to 30 minutes until firm.
- Step 7: Meanwhile, melt the chocolate melting wafers in a wide glass bowl using 30-second intervals in the microwave, stirring well between each interval until smooth.
- Step 8: Using a fork or dipping tool, dip each frozen ball into the melted chocolate, coating it fully. Return the dipped balls to the parchment paper.
- Step 9: If desired, sprinkle additional Butterfinger Bits on top of each ball before the chocolate sets.
- Step 10: Allow the chocolate to harden completely at room temperature before serving.
Tips & Variations
- For a crunchier texture, add finely chopped nuts to the mixture along with the Butterfinger Bits.
- If you prefer a sweeter dip, use semi-sweet or milk chocolate wafers for coating.
- Substitute peanut butter with almond or cashew butter for a different nutty flavor.
- To speed up setting, place the dipped balls in the refrigerator for 10–15 minutes.
Storage
Store Butterfinger Balls in an airtight container in the refrigerator for up to 1 week. For longer storage, freeze them for up to 3 months. To enjoy, thaw in the refrigerator for about 30 minutes before serving. Reheat is not recommended as it may affect the chocolate coating.
How to Serve
Serve this delicious recipe with your favorite sides.
FAQs
Can I use natural peanut butter instead of creamy peanut butter?
Yes, but natural peanut butter may alter the texture and consistency of the mixture. You might need to chill the mixture longer before rolling the balls.
What if I don’t have a cookie scoop?
You can use a tablespoon or your hands to portion the mixture. Try to keep the sizes uniform so the balls cook and set evenly.
Print
Butterfinger Balls Recipe
- Total Time: 1 hour 15 minutes
- Yield: About 30 balls 1x
Description
Butterfinger Balls are a decadent no-bake treat combining creamy peanut butter, buttery sweetness, and crunchy Butterfinger pieces coated in a smooth chocolate shell. These bite-sized delights are easy to make and perfect for satisfying your sweet tooth anytime.
Ingredients
Base Mixture
- 1⅓ cups creamy peanut butter
- ½ cup salted butter, softened
- 1 teaspoon vanilla extract
- 2 cups powdered sugar
- 1½ cups Butterfinger Bits, plus more for topping (optional)
Coating
- 3 cups chocolate melting wafers
Instructions
- Cream the base ingredients: In a large bowl or stand mixer, combine the peanut butter, softened butter, and vanilla extract. Beat them together for about 30 seconds until the mixture is smooth and creamy.
- Add powdered sugar: Sift the powdered sugar into the bowl to avoid lumps, then beat again until the mixture becomes smooth and consistent.
- Incorporate Butterfinger Bits: Gently fold the Butterfinger Bits into the mixture until evenly distributed, adding texture and flavor.
- Chill the mixture: Place the bowl in the refrigerator and let it chill for 30 minutes to firm up, making it easier to shape later.
- Form the balls: Line a cookie sheet with parchment paper. Using a medium cookie scoop, portion out the chilled peanut butter mixture and roll each portion into a ball. Arrange the balls on the lined cookie sheet.
- Freeze the balls: Transfer the cookie sheet to the freezer and chill the balls for 20 to 30 minutes until firm and ready for dipping.
- Melt the chocolate coating: As the balls are chilling, melt the chocolate wafers in a wide glass bowl using 30-second microwave intervals, stirring between each session until smooth and fully melted.
- Dip the balls in chocolate: Use a fork or dipping tool to coat each peanut butter ball in the melted chocolate, ensuring it is fully covered, then place them back onto the parchment-lined cookie sheet.
- Add topping and set: Immediately sprinkle additional Butterfinger Bits on top of each chocolate-covered ball if desired. Allow the chocolate coating to harden at room temperature or refrigerate briefly until set.
Notes
- Using salted butter adds a slight savory balance to the sweetness; unsalted butter can be used but consider adding a pinch of salt if desired.
- For easier rolling, keep your hands cool or lightly grease them to prevent sticking.
- Chocolate melting wafers melt smoothly and harden quickly, ideal for coating candy; alternatively, use high-quality chocolate chips or couverture chocolate.
- Store the Butterfinger Balls in an airtight container in the refrigerator to keep them fresh and firm.
- Allow the chocolate to fully harden before serving to prevent melting and ensure a crisp texture.
- Prep Time: 15 minutes
- Cook Time: 0 minutes
- Category: Dessert
- Method: No-Cook
- Cuisine: American
Keywords: Butterfinger Balls, peanut butter candy, no-bake treats, chocolate coated candies, easy dessert, holiday sweets


