
DIY Peppermint Candy Spoons Recipe
Introduction
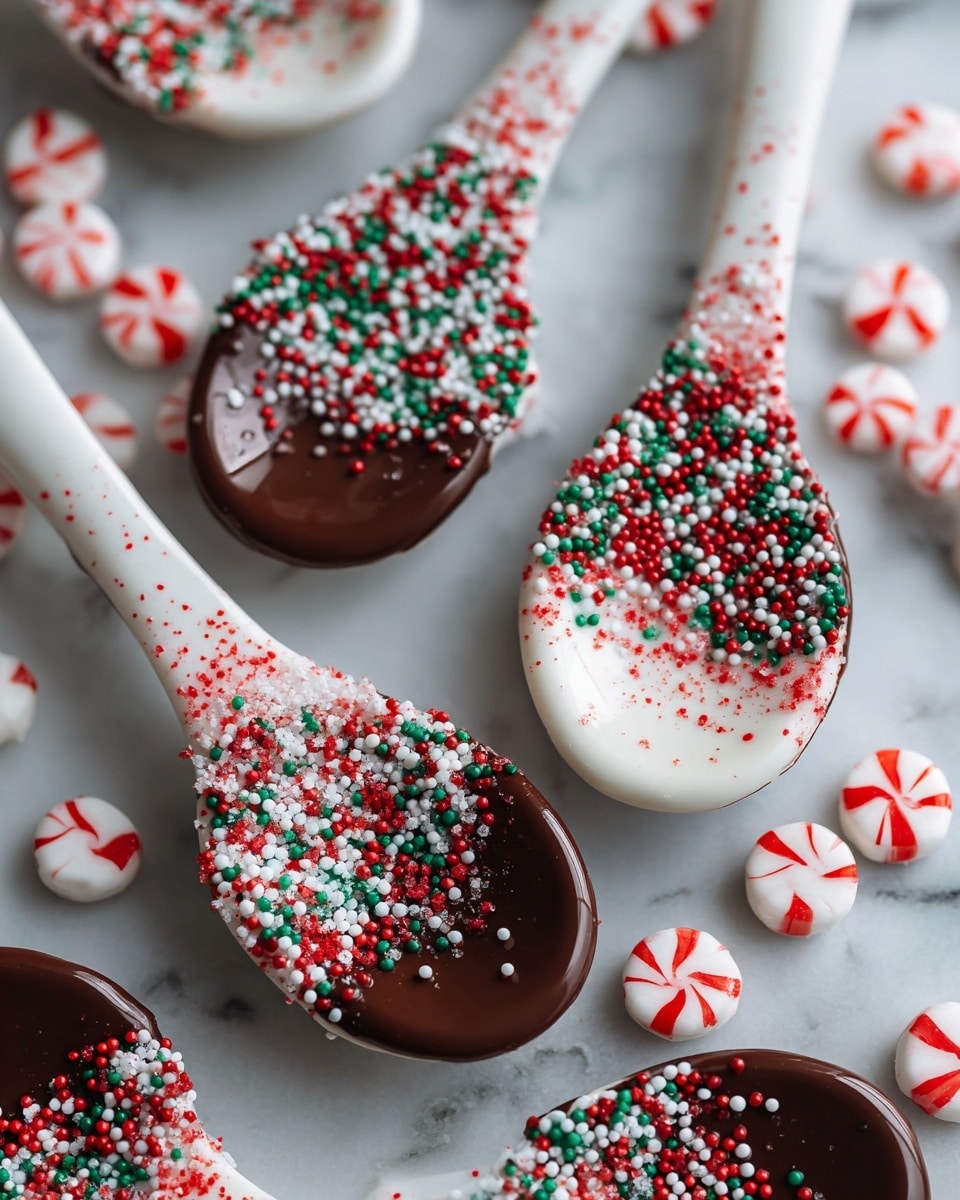
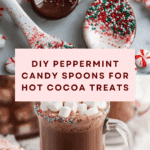
These DIY Peppermint Candy Spoons are festive, fun, and perfect for holiday drinks or gifts. Made with crushed peppermint candy and optional chocolate, they add a sweet minty touch to your hot cocoa or coffee. Plus, they’re surprisingly easy to make at home!
Ingredients
- 1 bag Starlight Peppermint Candy
- 1 bag Wilton Candy Melts (optional)
- Holiday Sprinkles (optional)
Instructions
- Step 1: Preheat your oven to 300 degrees Fahrenheit.
- Step 2: Place the peppermint candies in a ziplock bag and crush them using a kitchen mallet or heavy object.
- Step 3: Use a teaspoon to fill each spoon mold with the crushed peppermint. Add extra candy at the top and the neck of the spoon (where the spoon meets the handle) to prevent breakage.
- Step 4: Put the filled mold in the oven and let the peppermint melt completely. This usually takes about 10 minutes, but watch carefully. Around 8 minutes in, check and add more crushed peppermint where it looks thin, then continue melting for a few more minutes.
- Step 5: Remove the mold from the oven and allow the candy to cool fully.
- Step 6: Carefully separate the sides of the mold and remove the candy spoons. If any breaks, simply add more crushed peppermint and melt for a few minutes longer.
- Step 7 (Optional): Melt the Wilton Candy Melts according to package instructions. Dip the spoon ends into the melted chocolate and immediately into holiday sprinkles. Place on wax paper until set and dry.
Tips & Variations
- Use silicone spoon molds for easy removal and less risk of cracking.
- Try different colored candy melts for a festive look.
- Add peppermint extract to melted chocolate for extra minty flavor.
- If you don’t have a mallet, a rolling pin or heavy bottle works well for crushing candies.
Storage
Store the peppermint candy spoons in an airtight container at room temperature for up to 2 weeks. Keep them away from heat or humidity to prevent melting or stickiness. Reheat gently in a warm beverage to enjoy.
How to Serve

Serve this delicious recipe with your favorite sides.
FAQs
Can I use other types of candy instead of peppermint?
Yes, you can experiment with other hard candies, but peppermint gives the best classic seasonal flavor and a nice minty aroma.
How do I prevent the candy spoons from breaking?
Make sure to add extra crushed peppermint at the edges and especially at the neck of the spoon in the mold. Using silicone molds also helps with easy removal and less cracking.
Print
DIY Peppermint Candy Spoons Recipe
- Total Time: 22 minutes
- Yield: 12–15 candy spoons (depending on mold size) 1x
Description
Create festive and delicious DIY Peppermint Candy Spoons perfect for holiday treats and drinks. These candy spoons are made by melting crushed starlight peppermints into spoon molds, optionally dipped in melted chocolate and sprinkles for a colorful and tasty finish.
Ingredients
Ingredients
- 1 bag Starlight Peppermint Candy (about 12 oz)
- 1 bag Wilton Candy Melts (typically 12 oz, any color)
- Holiday Sprinkles (as desired)
Instructions
- Preheat Oven: Preheat your oven to 300 degrees Fahrenheit to prepare for melting the peppermint candies evenly.
- Crush Peppermints: Place the Starlight Peppermint Candies in a ziplock bag and crush them finely using a kitchen mallet or rolling pin, making sure they are small enough to melt uniformly.
- Fill Spoon Mold: Using a teaspoon, fill your candy spoon mold with the crushed peppermint pieces. Add extra crushed candy at the top of the spoon and the neck area where the handle meets the bowl, since these parts tend to break easily.
- Melt Peppermints: Place the filled molds on a baking sheet and bake them in the oven for about 10 minutes. Start checking around 8 minutes; once the peppermint candy looks melted but not burnt, remove the molds and carefully add more crushed peppermint in thin spots. Return to the oven for a few more minutes to melt and set.
- Cool and Remove: Take the molds out and let them cool completely at room temperature. Once cool, gently separate the candy spoons from the molds. If a spoon breaks, add more crushed peppermint to that mold section and re-bake for a few minutes to fix it.
- Optional Chocolate Dip: Melt the Wilton Candy Melts according to package instructions. Dip the end of each peppermint spoon into the melted chocolate, then immediately sprinkle holiday sprinkles on the chocolate before it hardens. Place the dipped spoons on wax paper until the chocolate sets completely.
Notes
- Use care when removing spoons from molds to avoid breakage.
- The baking time can vary depending on your oven, so watch the candy closely while it melts.
- Crushing the peppermints finely helps them melt smoothly into the mold.
- Chocolate coating and sprinkles add an attractive, festive touch and extra flavor.
- Store finished candy spoons in a cool, dry place to prevent melting or sticking.
- Prep Time: 10 minutes
- Cook Time: 12 minutes
- Category: Dessert, Candy
- Method: Baking
- Cuisine: American
Keywords: Peppermint candy spoons, holiday candy, DIY candy, peppermint treats, festive sweets
