Guide to Making Authentic Katsu at Home Recipe
If you’ve ever fallen in love with the crispy, juicy goodness of Japanese katsu at a restaurant and wondered how to recreate that magic in your own kitchen, you’re in for a treat. This Guide to Making Authentic Katsu at Home will walk you through a mouthwatering journey filled with crunchy textures, perfectly seasoned chicken (or pork), and a sauce that ties everything together beautifully. Whether you’re a seasoned cook or just starting out, this recipe brings together simple ingredients and straightforward steps that result in a dish bursting with flavor and full of comforting vibes.
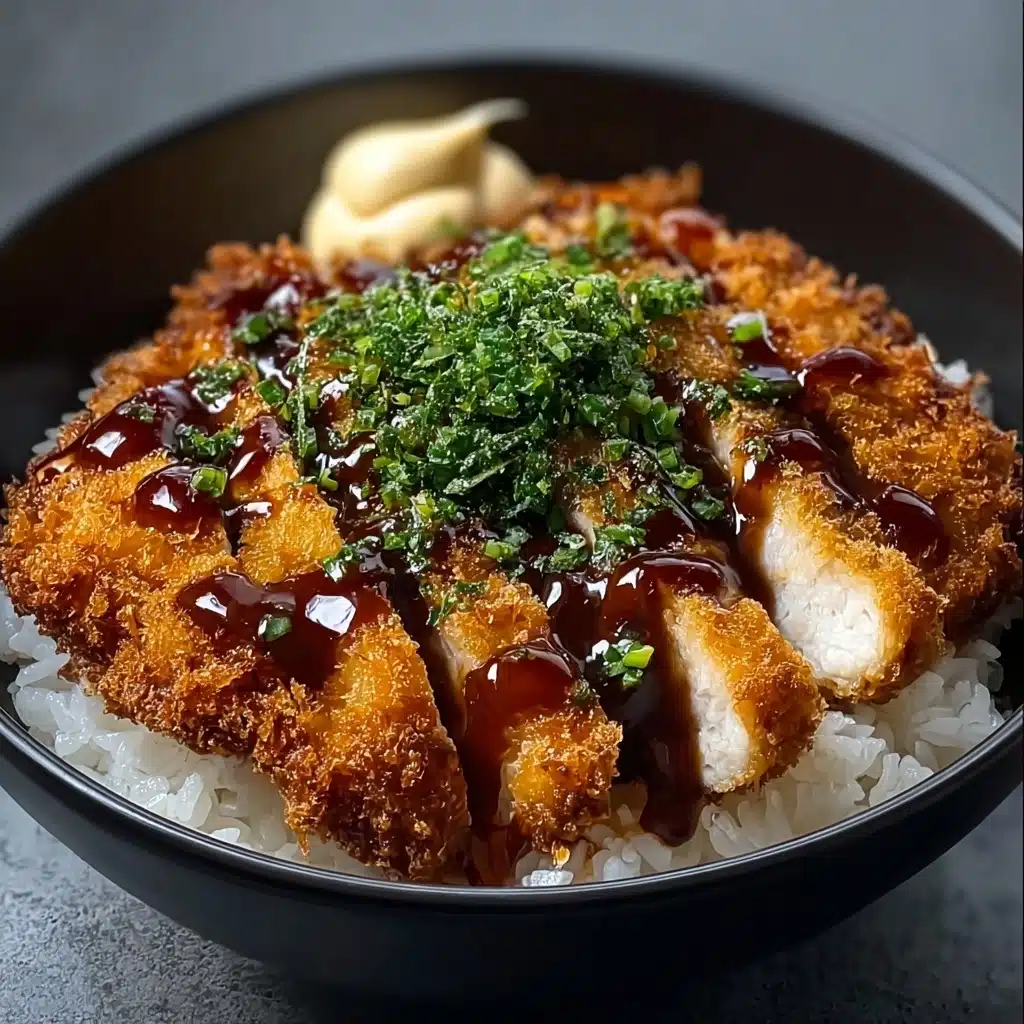
Ingredients You’ll Need
The beauty of this dish lies in its simplicity: just a handful of ingredients, each playing a crucial role in delivering that authentic katsu experience. From the crispy coating of panko breadcrumbs to the tangy, savory sauce, every element is essential to get that perfect balance of taste, texture, and color.
- Boneless chicken breasts or pork loin: Choose your favorite protein; chicken tends to be tender, while pork brings a little more richness.
- Salt and pepper: Basic but vital seasoning to highlight the flavor of the meat.
- All-purpose flour: Helps the egg and breadcrumbs stick perfectly for that crispy crust.
- Large eggs: Acts as the adhesive step before coating in breadcrumbs.
- Panko breadcrumbs: The secret to that ultra-crispy texture unique to Japanese katsu.
- Vegetable oil: Ideal for frying, providing a neutral base that crisps without overpowering the flavors.
- Japanese short-grain rice: Sticky and slightly sweet, this rice is the perfect base to carry the dish.
- Rice vinegar, sugar, and salt: These season the rice gently, giving it that subtle, authentic flavor.
- Tonkatsu sauce, soy sauce, Worcestershire, and ketchup: Combined to create a rich, tangy, slightly sweet sauce that complements the fried meat perfectly.
- Shredded cabbage: Adds freshness and crunch to balance the fried katsu.
- Green onions: For a touch of sharpness and color.
- Sesame seeds: A nutty garnish that adds visual appeal and a delicate flavor.
- Pickled ginger (optional): Offers a zesty contrast, perfect for cleansing the palate.
How to Make Guide to Making Authentic Katsu at Home
Step 1: Preparing the Rice
Start by rinsing the Japanese short-grain rice under cold water until it runs clear—this removes excess starch and prevents the rice from becoming too sticky. Let it soak in water for about 30 minutes, which helps the grains cook evenly for fluffy, perfect texture. Cook it covered until tender, then let it rest off the heat while you prepare the rest of the dish. Don’t forget to gently fold in a simple mixture of rice vinegar, sugar, and salt to give the rice a subtle tang and delicate sweetness that’s essential for authentic flavor.
Step 2: Preparing the Chicken or Pork
Pound the chicken breasts or pork loin until they’re about half an inch thick to ensure even cooking and tenderness. Season them generously with salt and pepper; this foundational seasoning is what makes the flavors pop from the inside out. The pounding also helps in getting a uniform crunch once fried.
Step 3: Setting Up the Breading Station
Create three separate bowls with flour, beaten eggs, and panko breadcrumbs. This classic breading method is key: flour helps the egg adhere, and the egg binds the panko to the meat, resulting in that irresistibly crunchy exterior. Take your time with this step for an even coating that fries up beautifully.
Step 4: Frying to Golden Perfection
Heat vegetable oil in a skillet over medium heat—enough to coat the bottom generously. Fry each piece for about 4 to 5 minutes per side until the exterior turns a gorgeous golden brown and the meat is cooked through. Don’t rush this step; crispiness and juiciness come from that patient frying time. Let the cooked katsu drain on paper towels to remove excess oil and rest briefly to retain its succulent texture.
Step 5: Mixing the Signature Sauce
Whisk together tonkatsu sauce, soy sauce, Worcestershire sauce, and ketchup. This blend creates the signature rich, tangy, and slightly sweet sauce that elevates the dish from good to unforgettable. Drizzle it over your sliced katsu just before serving.
Step 6: Assembling the Bowl
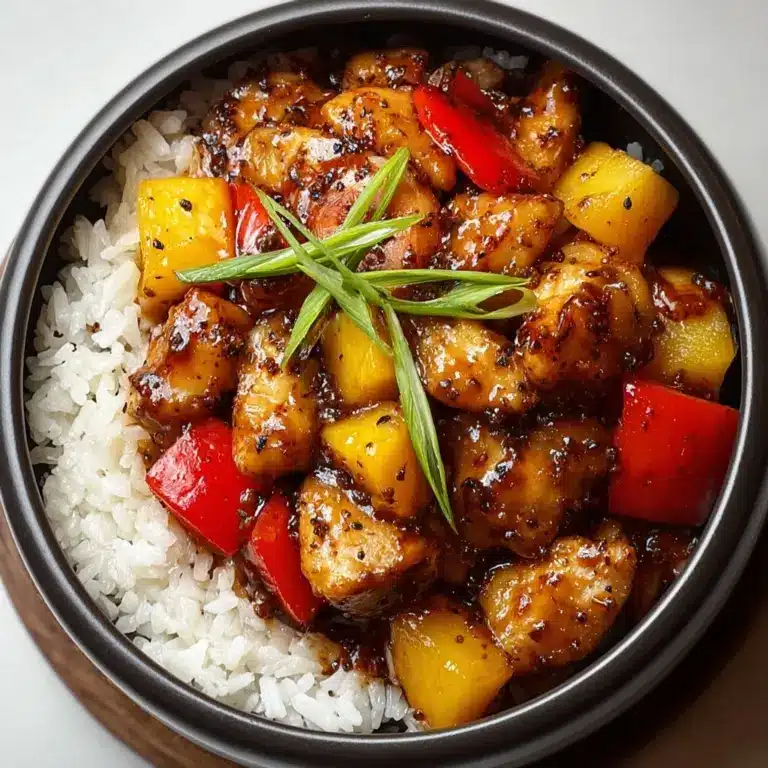
Plate a generous serving of the seasoned rice, then top with sliced katsu, a heap of shredded cabbage, and sliced green onions. Sprinkle sesame seeds for that final touch of flavor and texture, and add pickled ginger if you like an extra zing. This vibrant arrangement is both satisfying to the eye and the palate.
How to Serve Guide to Making Authentic Katsu at Home
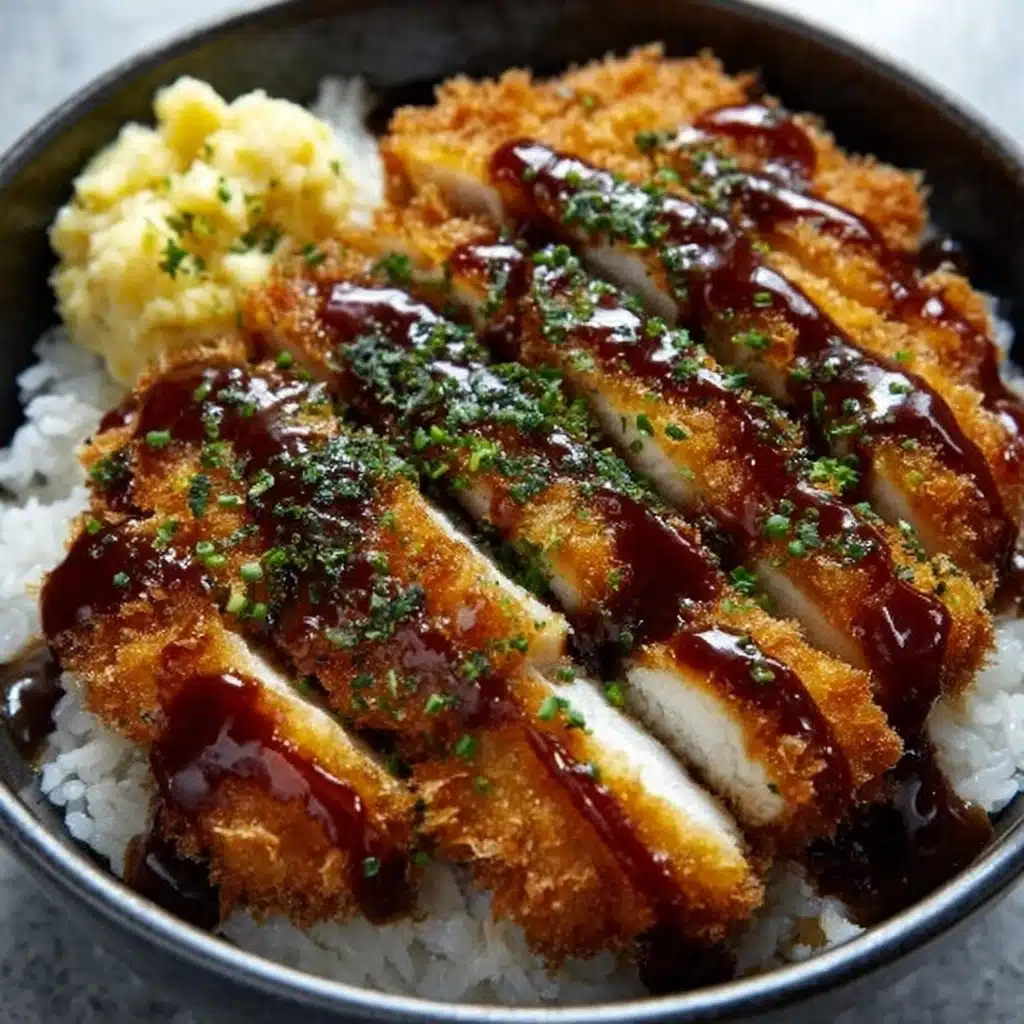
Garnishes
Garnishes like sesame seeds and pickled ginger add more than just decoration—they introduce subtle nuances that complement the crispy katsu beautifully. Sesame seeds offer a toasty crunch, while pickled ginger lends a refreshing contrast that cuts through the richness.
Side Dishes
Serve your katsu bowls alongside simple sides like miso soup, steamed vegetables, or a light cucumber salad. These help balance the hearty and fried elements of the dish while keeping the meal satisfying and well-rounded.
Creative Ways to Present
For a fun twist, try serving your katsu over a bed of mixed greens or inside a soft bun as a sandwich. You could even layer the katsu with avocado and spicy mayo for an Asian-inspired fusion bowl. The Guide to Making Authentic Katsu at Home is versatile and invites you to get creative with presentation.
Make Ahead and Storage
Storing Leftovers
Place any leftover katsu and rice in airtight containers and store in the refrigerator for up to 2 days. Keep the sauce separate to maintain the katsu’s crispy texture when reheating.
Freezing
To freeze, wrap the katsu tightly in plastic wrap and then aluminum foil to prevent freezer burn. Freeze for up to 1 month. Rice freezes best if cooled completely and stored in freezer-safe containers, but texture might slightly change upon thawing.
Reheating
Reheat katsu in a preheated oven or toaster oven at 350°F (175°C) for 10-15 minutes to regain crispiness. Avoid microwaving if possible since it can make the breading soggy. Warm rice gently on the stovetop or microwave, adding a splash of water to keep it moist.
FAQs
Can I use pork instead of chicken for this recipe?
Absolutely! Pork loin is a classic choice for katsu and offers a slightly richer flavor. Just ensure it’s pounded evenly and cooked thoroughly just like the chicken for the best results.
What type of breadcrumbs should I use?
Japanese panko breadcrumbs are essential because of their light, airy, and super-crispy texture. Regular breadcrumbs won’t give you that same crunch, so try to use panko whenever possible.
Is it necessary to soak and rinse the rice?
Yes, rinsing the rice removes excess starch, preventing it from becoming gummy. Soaking the rice before cooking helps the grains absorb water evenly, resulting in fluffy, tender rice perfect for katsu bowls.
Can I prepare the sauce in advance?
Definitely! The sauce can be mixed ahead and stored in the refrigerator for up to a week. This makes assembling the dish quicker when you’re ready to eat.
What oil is best for frying katsu?
Vegetable oil or other neutral oils like canola or peanut oil work great for frying because they have high smoke points and won’t interfere with the delicate flavors of the katsu.
Final Thoughts
There’s something genuinely comforting about creating a warm, crunchy, flavorful dish like katsu right in your own kitchen. This Guide to Making Authentic Katsu at Home is designed to be approachable yet deliver that undeniable restaurant-quality experience you crave. So gather your ingredients, roll up your sleeves, and dive into this delicious project—you might just find your new favorite homemade meal!
Print
Guide to Making Authentic Katsu at Home Recipe
- Total Time: 1 hour 5 minutes
- Yield: 2 servings 1x
- Diet: Halal
Description
This Japanese Katsu Bowl recipe offers a delicious and authentic way to enjoy crispy, golden-brown chicken or pork katsu served over perfectly cooked Japanese short-grain rice, complemented with a tangy homemade katsu sauce, shredded cabbage, and fresh garnishes. It’s a comforting and flavorful meal perfect for home cooks looking to bring a taste of Japan to their kitchen.
Ingredients
Protein
- 2 boneless chicken breasts (or pork loin, if preferred)
- Salt and pepper, to taste
Breading
- 1 cup all-purpose flour
- 2 large eggs
- 1 cup panko breadcrumbs
- Vegetable oil, for frying
Rice
- 2 cups Japanese short-grain rice
- 2 ½ cups water
- 1 tablespoon rice vinegar
- 1 tablespoon sugar
- ½ teaspoon salt
Sauce
- ¼ cup tonkatsu sauce (or store-bought if you prefer)
- 1 tablespoon soy sauce
- 1 teaspoon Worcestershire sauce
- 1 teaspoon ketchup
Garnishes
- 1 cup shredded cabbage
- 2 green onions, sliced
- Sesame seeds, for garnish
- Pickled ginger (optional)
Instructions
- Prepare the rice: Rinse the rice under cold water until the water runs clear to remove excess starch. Transfer the rinsed rice to a saucepan, add 2 ½ cups of water, and soak for 30 minutes to ensure even cooking. Cover and bring to a boil, then reduce heat and simmer gently for 15 minutes without lifting the lid. Turn off the heat and let the rice sit, still covered, for another 10 minutes to steam fully.
- Season the rice: In a small bowl, mix the rice vinegar, sugar, and salt until dissolved. Gently fold this mixture into the cooked rice without mashing, to create the characteristic tang and slight sweetness of sushi-style rice.
- Prepare the chicken: Pound the chicken breasts to an even thickness of about ½ inch using a meat mallet or rolling pin. Season both sides with salt and pepper to taste, ensuring the meat is evenly seasoned.
- Bread the chicken: Set up your breading station with three shallow dishes: one containing flour, the second beaten eggs, and the third panko breadcrumbs. Dredge each chicken breast first in flour, shaking off excess, then dip into the beaten eggs, and finally coat thoroughly with panko breadcrumbs, pressing gently to adhere.
- Fry the katsu: Heat vegetable oil in a skillet over medium-high heat until shimmering, about 350°F (175°C). Fry the breaded chicken for 4-5 minutes on each side or until golden brown and cooked through (internal temperature of 165°F/74°C). Remove and drain excess oil on paper towels. Let the katsu rest for a few minutes before slicing into strips.
- Make the sauce: In a small bowl, combine tonkatsu sauce, soy sauce, Worcestershire sauce, and ketchup. Stir well to blend the flavors into a tangy and slightly sweet katsu dipping sauce.
- Assemble the bowl: Serve the seasoned rice on plates or bowls. Top with sliced katsu chicken, a generous handful of shredded cabbage, green onions, and a sprinkle of sesame seeds. Drizzle with the prepared katsu sauce and garnish with optional pickled ginger for an authentic touch.
Notes
- For a gluten-free option, substitute all-purpose flour and panko breadcrumbs with gluten-free versions.
- You can use pork loin instead of chicken breasts for a traditional tonkatsu experience.
- Be careful not to lift the lid while the rice simmers to ensure proper steaming.
- Make sure the oil is hot enough before frying to get a crispy crust without absorbing excess oil.
- Leftover katsu can be reheated in an oven or air fryer to maintain crispiness.
- Prep Time: 45 minutes
- Cook Time: 20 minutes
- Category: Main Course
- Method: Frying, simmering
- Cuisine: Japanese
Nutrition
- Serving Size: 1 bowl (approx. 1/2 recipe)
- Calories: 650 kcal
- Sugar: 8 g
- Sodium: 900 mg
- Fat: 25 g
- Saturated Fat: 4.5 g
- Unsaturated Fat: 18 g
- Trans Fat: 0 g
- Carbohydrates: 75 g
- Fiber: 3 g
- Protein: 35 g
- Cholesterol: 110 mg
Keywords: Japanese Katsu Bowl, Chicken Katsu, Tonkatsu Sauce, Japanese Rice Bowl, Fried Chicken Cutlet, Homemade Katsu


