
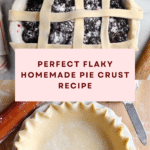
Homemade Pie Crust and Assembly Recipe
Introduction
Making a homemade pie crust is easier than you might think and adds a delightful, flaky texture to any pie. This recipe combines lard and butter for a tender yet crisp crust that’s perfect for sweet or savory fillings.
Ingredients
- 3 cups all-purpose flour
- 2/3 cup lard
- 5 tablespoons unsalted butter, cold and cut into pieces
- 1 teaspoon salt
- 1/2 cup ice water (adjust as needed)
Instructions
- Step 1: In a large bowl, combine the flour and salt.
- Step 2: Cut in the lard and butter pieces using a pastry cutter until the mixture resembles small peas.
- Step 3: Place ice cubes in a measuring cup and add cold water. Gradually add the water to the flour mixture a little at a time, mixing gently until the dough just comes together. Avoid overworking the dough to keep the crust tender.
- Step 4: Shape the dough into a ball, place it in a large zip-style bag, and refrigerate for several hours or overnight to chill.
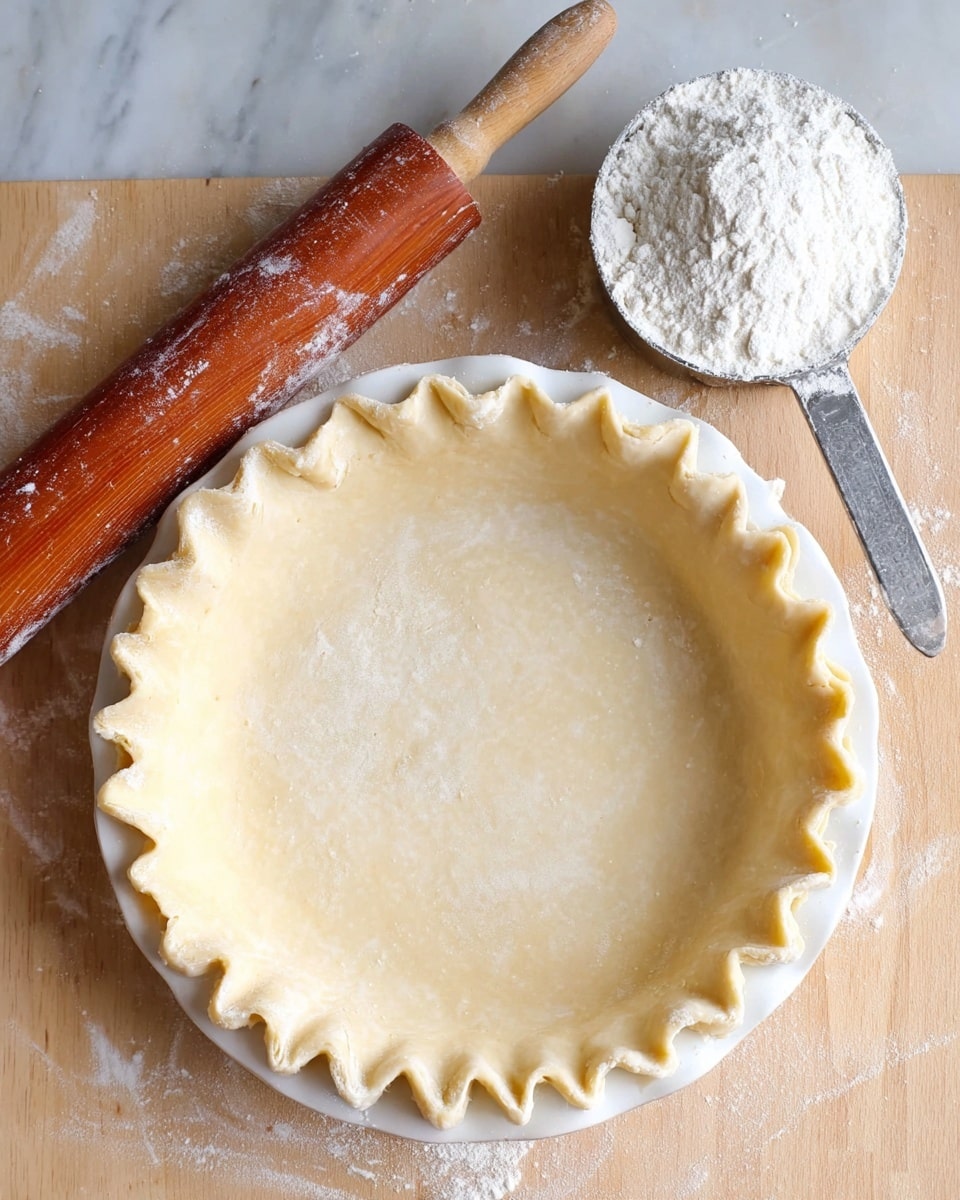
- Step 5: On a lightly floured surface, roll out the bottom crust to about 12 inches in diameter and fit it into your pie plate.
- Step 6: Trim the edges to about 1/2 inch beyond the rim using kitchen shears.
- Step 7: Add your desired pie filling.
- Step 8: Roll out the top crust to 10–12 inches in diameter and gently cover the filling.
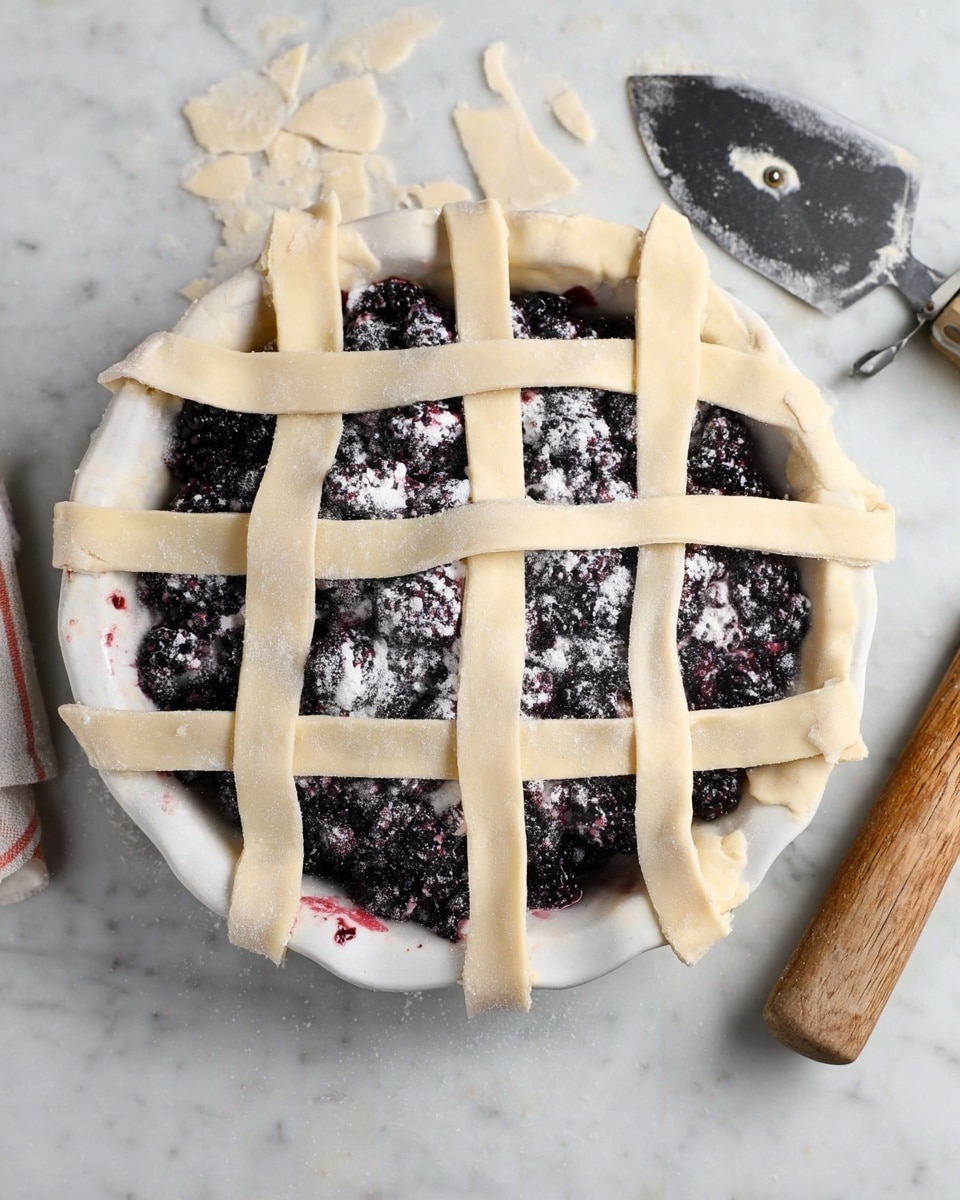
- Step 9: Cut a few vents in the top crust to allow steam to escape. For a lattice crust, slice the dough into long strips and weave them over the filling.
- Step 10: Brush the crust with egg wash and sprinkle with granulated sugar if desired.
- Step 11: Place the pie on a half sheet pan lined with parchment paper to catch drips.
- Step 12: Bake in a preheated 400°F oven for about 1 hour, until the crust is browned. Cover loosely with aluminum foil with a vent cut out to prevent over-browning, and continue baking until the filling bubbles, about 10 more minutes.
- Step 13: Remove from oven and let cool completely before slicing and serving.
Tips & Variations
- Use a mix of lard and butter for a perfectly flaky crust with great flavor. For a dairy-free version, use all lard or vegetable shortening.
- Keep all ingredients cold to prevent the fats from melting early, which helps create flakiness.
- If your dough feels too dry, add ice water one tablespoon at a time until it holds together.
- Try adding a tablespoon of sugar to the dough for a slightly sweet crust, ideal for fruit pies.
Storage
Unbaked pie crust dough can be wrapped tightly and refrigerated for up to 2 days or frozen for up to 3 months. Baked pies keep well covered at room temperature for 2 days or refrigerated for up to 4 days. Reheat slices gently in a warm oven to refresh the crust’s crispness.
How to Serve
Serve this delicious recipe with your favorite sides.
FAQs
Can I use all butter instead of lard in this recipe?
Yes, you can substitute all the lard with butter, but the crust may be slightly less flaky. Butter adds rich flavor while lard contributes to a flakier texture.
How do I prevent the crust from shrinking during baking?
Make sure to chill the dough thoroughly before baking and avoid overstretching it when rolling. Using pie weights to blind bake can also help maintain the crust’s shape.
Print
Homemade Pie Crust and Assembly Recipe
- Total Time: 1 hour 30 minutes plus chilling time
- Yield: 1 9-inch pie crust (top and bottom) 1x
Description
This homemade pie crust recipe yields a flaky, tender pastry perfect for both sweet and savory pies. Made with a blend of lard and cold butter for the ideal texture, it includes simple ingredients and straightforward steps to create a classic pie crust that can be rolled out, latticed, and baked to golden perfection.
Ingredients
Pie Crust
- 3 cups all-purpose flour
- 2/3 cup lard
- 5 tablespoons unsalted butter, cold and cut into pieces
- 1 teaspoon salt
- 1/2 cup ice water (adjust as needed)
For Assembly and Baking
- Egg wash (1 egg beaten with 1 tablespoon water or milk)
- Granulated sugar (for sprinkling)
Instructions
- Prepare the dough base: In a large bowl, combine the all-purpose flour and salt, mixing well to distribute evenly.
- Cut in the fats: Using a pastry cutter, cut in the lard and cold butter pieces into the flour mixture until the fats are broken down into small pea-sized pieces, ensuring a flaky texture.
- Add ice water: Place ice cubes into a large measuring cup and add cold water. Gradually incorporate the water, a little at a time, mixing gently until the dough just comes together. Be careful not to overwork the dough to avoid toughness.
- Chill the dough: Shape the dough into a ball, place it inside a large zip-style bag, and refrigerate for several hours or overnight to allow the fats to firm up and flavors to meld.
- Roll out the bottom crust: On a lightly floured surface, roll one half of the chilled dough into a 12-inch diameter circle, then transfer it to the bottom of a pie plate.
- Trim the edges: Use kitchen shears or a knife to trim the edges around the rim of the pie plate, leaving about a 1/2-inch overhang.
- Add pie filling: Pour your desired pie filling evenly into the bottom crust.
- Roll out the top crust: Roll out the remaining dough to about 10-12 inches in diameter and gently place it over the filling.
- Vent or lattice the crust: Slice a few vents in the top crust for steam to escape. For a lattice crust, roll out dough, cut long strips, then weave them over the filling, covering the pie evenly.
- Apply egg wash and sugar: Brush the top crust or lattice with an egg wash, then sprinkle granulated sugar over it for a golden, slightly sweet finish.
- Prepare for baking: Place the pie on a half sheet pan lined with parchment paper to catch any drips during baking.
- Bake the pie: Preheat the oven to 400°F (204°C). Bake the pie for about 1 hour until the crust is nicely browned.
- Protect from over-browning: Once browned, cover the pie loosely with aluminum foil with a vent cut in it to prevent excessive browning while the filling finishes cooking.
- Complete baking: Continue baking until the pie filling is bubbling, approximately 10 more minutes, for a total bake time around 1 hour and 10 minutes.
- Cool before serving: Remove the pie from the oven and allow it to cool completely before slicing to ensure clean cuts and set filling.
Notes
- Adjust the amount of ice water as needed; the dough should just come together without being sticky.
- Keep all fats and liquids cold to ensure a flaky texture.
- Refrigerating the dough overnight improves flavor and texture.
- Use a half sheet pan lined with parchment to keep your oven clean from any pie filling drips.
- Allow pie to cool fully before slicing to prevent the filling from running.
- Prep Time: 20 minutes
- Cook Time: 1 hour 10 minutes
- Category: Dessert
- Method: Baking
- Cuisine: American
Keywords: pie crust, homemade pie crust, flaky pie crust, lard pie crust, baking pie crust, lattice crust

